
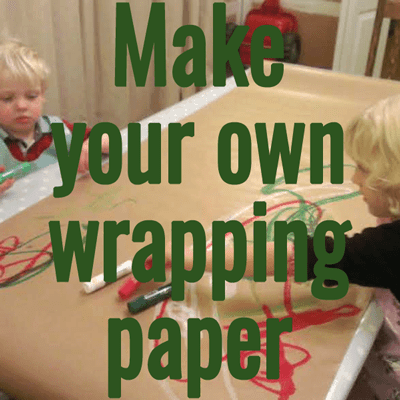
I think I can say that making our own wrapping paper for Christmas has now become a family tradition as we’ve now done it for three years. The first year the children were five and two, and we thought it would be fun for them to paint on a large scale; it was – and for the adults. I also like that the paper is easy to burn or recycle, unlike an increasing amount of wrapping papers such as shiny foil paper.

Items needed to make your own wrapping paper
- Lots of space – we use our dining table with a roll of paper on a chair at each end, but the floor would also be suitable
- Poster paint – we recommend stick poster paint* because they are easy to use, the colours are bright and they dry very quickly
- Large roll of paper – we use brown parcel paper*
- Hairdryer – this depends on the paint you use and how quickly they dry

Method
- Unroll the paper out along the space
- Use the paints to make marks on the paper
- I personally think big bold marks look better when the paper is wrapped around a present
- You don’t need to to do a lot of paint along the edges as they are likely to be hidden by other paper once it is wrapped around a present
- Roll the paper up as you fill it, so you can move blank sections into the workspace
- If the paint is wet you may want to use a hairdryer before rolling the paper so it doesn’t stick together

I admit I preferred how ours looked the first year with bold abstract patterns in a small colour scheme. This year the children wanted to use lots of colours and had clear ideas about what they wanted to draw; such as my three year old wanting to colour “dark” around everyone else’s pictures. We also didn’t have as many paint sticks this year so used ready mixed poster paints which were disappointing in terms of intensity and drying time.

If you want to continue with making things for Christmas, how about edible gifts.


 7 different books to use for a journal or diary